The Best Vegan Sugar Cookies (Perfect for Christmas)
*Disclosure: some links may contain affiliate links. For more information on what this means, visit my disclosure page.
Remember making Christmas sugar cookies as a kid and icing them? Bring that nostalgia back and share this vegan sugar cookie recipe with your kids this year!
It only requires 1 bowl, no chilling, and a couple pairs of hands to make these delicious sugar cookies a reality and a fun core memory for your kids!

Ingredient Notes & Substitutions

Plant-Based Butter: These cookies will not taste like classic Christmas sugar cookies if you use something other than butter. Trust me, I’ve tried using coconut oil and avocado- it does not taste the same.
Luckily plant-based butter is easily found in most stores now, and at the same price as regular butter.
Sugar: Again, to not mess with the integrity of Christmas sugar cookies, white sugar is needed. Just be sure the sugar you get is vegan friendly!
Vanilla Extract: Some ingredients can’t really be changed when making a specific recipe, vanilla extract is another one of those things.
Oat Milk: The type of milk you use for this recipe can be changed. I have personally tested oat milk, soy milk, and almond milk, all work perfectly well!
Flour: All purpose flour is another one of those ingredients that don’t work as well if changed. So stick with all purpose flour if you’re able to.
I have tested oat flour and it does not work very well. I have not tested any gluten free or whole wheat flour, so I’m not sure how either of those would work.
Cornstarch: Cornstarch is the ‘secret’ ingredient in sugar cookies that actually help make them softer! So be sure not to omit this.
Baking Powder: This helps the cookies rise slightly and cannot be omitted, otherwise they won’t rise at all. I highly recommend aluminum free baking powder.
Salt: Salt actually helps bring out the sweetness in the cookies. It can be omitted if you’re trying to reduce salt intake.
Powdered Sugar: You may also know it as icing sugar or confectioners sugar. This is needed to making the icing for the cookies.
Food Dye: This is the vegan food dye I’ve been using, it has ALL the colors you’ll need.
If you don’t want to use any food dye, I completely understand! You could use the icing as is, white. Or use natural food colorings:
- Strawberries for pink
- Turmeric for yellow
- Blueberries for purple
- Matcha for green
- Spirulina for blue
The icing might be more in the pastel range for colors. But, there may be a way to make more intense natural food dyes.
Or, if you’re looking for a royal icing recipe that’s vegan, yet still hardens like the frosting on cookies at stores, try this Vegan Royal Icing recipe. You’ll even be able to stack the cookies if you use that recipe, without messing up the designs!
How to Make Soft Vegan Sugar Cookies
*Note that these instructions can be printed below
Step one: Preheat oven to 350℉ and line a cookie sheet with parchment paper or a silpat. (Because we aren’t waiting for this dough to chill!)

Step two: Cream together the butter and sugar, then stir in the vanilla and oat milk.
Step three: Add 2 cups of flour, the cornstarch, baking powder, and salt. Stir until it turns into a dough. If sticky or too soft, add more flour, ¼ cup at a time.

Step four: Flour a clean surface, or large cutting board, and roll out the dough to under a ¼ inch thick.
Step five: Use your cookie cutters and cut out shapes from the dough and place on the lined cookie sheets until full. There does not need to be much room around each cookie, but they also should not be touching.
Step six: Bake the cookies for 7 to 10 minutes. The thinner you made the dough, the less time they will take. Be sure to remove them before the tops start to turn golden. You will need to bake these cookies in batches.

Step seven: While the cookies are baking, make the icing by mixing together all of the ingredients, except the food dye, separating the icing into the number of colors you want into separate bowls, adding the food dye and stirring well.Then place each color in separate piping bags or plastic bags, snipping the corner of the plastic bags after being filled.
Step eight: Once the first batch of cookies are cool and the icing is made, decorate as you please before eating!

Christmas Cookie Tips
Christmas cookies were one out of the two things I knew how to make before moving out of my moms house as a teenager (I could also make pb&j’s). So I know a thing or two about making them, lol.
- Be sure to keep your bag of flour out while rolling and cutting your cookies, you’ll need it if you’re rolling pin gets stuck to the dough, and to re-flour your surface every time you run out of space for cutting out cookies and need to re-roll.
- Use your big cookie cutters first, then fill in the gaps with the smaller ones when the big ones will no longer fit.
- Let them cool completely before icing, otherwise the icing will melt and they’ll look uglier than the ones in the photos.
- Decorating sugar cookies is a SKILL, one that I do not have. So be patient with yourself and kids if the cookies don’t look like they were professionally decorated. Maybe add a white or black outline if you’d like.
- Allow the icing to set on the cookies before piling them on top of each other, otherwise you’ll have a mess.
- Let your kids help and have fun!

How to Serve
These vegan sugar cookies are best served with milk and other types of Christmas cookies!
They’re also great to put on a plate for Santa!
How to Store
Room Temperature: Store in an airtight container, or plastic/silicone bag, for up to one week. Be sure icing has set before storing or layering cookies to prevent smudging the icing and making a mess.
Freeze: Store in a freezer safe bag or container before or after frosted. When my oldest was little and I worked full time outside of the home, I would freeze all Christmas cookies weeks before Christmas – and I’d love pulling out already frosted Christmas sugar cookies to eat.
They should last a couple of months in the freezer, however, I don’t necessarily recommend making them months in advance. If you’re anything like me, they’ll probably be gone before Christmas if you make them too early!
More to Know About Christmas Cut-Out Sugar Cookies
As long as they’re not burned, go ahead and ice and enjoy them as usual, just know they won’t be as soft. Then don’t bake the next batch for as long.
Nope! That’s one thing I love about this recipe! My kids can’t wait for cookie dough to chill before cutting out shapes and baking them, which is exactly why I tested and developed a recipe that doesn’t need to chill. If for some reason you do need to chill it, roll out the dough before chilling. If your rolled out dough is too big to fit in your fridge, cut it and lay parchment paper between layers.
It takes about 24 hours for the icing to set on the cookies. However, they still taste amazing before the icing is completely set.
This tends to happen when the butter isn’t softened enough. The butter should be soft enough to cream together with the sugar with a metal or wooden spoon. Next time be sure your butter is soft enough.
These have not been tested with gluten free flour. I have another sugar cookie where I used oat flour and they don’t turn out as good (I’m working on fixing that). If you do end up testing this recipe out with gluten free flour please leave a comment/review and let me know how it goes.

More Vegan Christmas Recipes You’ll Love
- Vegan Snowball Cookies
- 25+ Vegan Christmas Cookie Recipes
- Kiwi Christmas Tree
- Strawberry Banana Candy Canes
- Vegan Snowman Pancakes
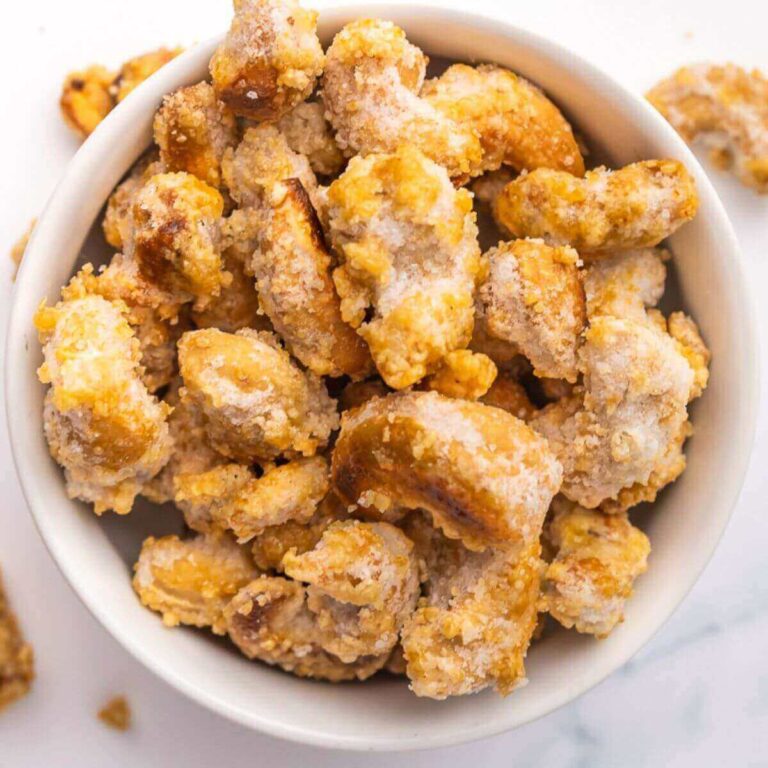
- Candied Cashews

Vegan Sugar Cookies
Shawna ClapperIngredients
- ½ cup plant-based Butter softened
- 1 cup Sugar
- 1 teaspoon Vanilla Extract
- ¼ cup Oat Milk
- 2 ¼-2 ½ cups Flour + more for rolling out dough
- 1 tablespoon Cornstarch
- 1 teaspoon Baking Powder
- ½ teaspoon Salt
Icing
- 6 cups Powdered Sugar
- 8-12 tablespoons Oat Milk
- 2 teaspoons Vanilla Extract
- Food dye colors of your choice, but green, red, black, yellow, and blue are great choices
Instructions
- Preheat oven to 350℉ and line a cookie sheet with parchment paper.
- Cream together the butter and sugar, then stir in the vanilla and oat milk.
- Add 2 cups of flour, the cornstarch, baking powder, and salt. Stir until it turns into a dough. If sticky or too soft, add more flour, ¼ cup at a time.
- Flour a clean surface, or large cutting board, and roll out the dough to under a ¼ inch thick.
- Use your cookie cutters and cut out shapes from the dough and place on the lined cookie sheets until full. There does not need to be much room around each cookie, but they also should not be touching.
- Bake the cookies for 7 to 10 minutes. The thinner you made the dough, the less time they will take. Be sure to remove them before the tops start to turn golden. You will need to bake these cookies in batches.
- While the cookies are baking, make the icing by mixing together all of the ingredients, except the food dye, separating the icing into the number of colors you want into separate bowls, adding the food dye and stirring well.Then place each color in separate piping bags or plastic bags, snipping the corner of the plastic bags after being filled.
- Once the first batch of cookies are cool and the icing is made, decorate as you please before eating!
Notes
- Be sure to keep on eye on the cookies in the oven, they will go from white dough to golden in little time, start checking on them around 6 minutes, possibly delegating this task to an excited child who understands what to look for, if possible.
- While rolling, be sure to flour the top of the dough and the rolling pin to help prevent sticking.
- Store in an airtight container for up to 5 days at room temperature.
- To ensure these are vegan, be sure all ingredients you buy are vegan, especially be careful you’re buying vegan butter, sugar, and food dyes.
- Time to make these does not account for decorating them.

